Field Data Replication Vibration Tutorial
How to Run a Basic Field Data Replication Vibration Test on the Panther Control System
1. Safety First
• Field Data Replication testing reproduces recorded vibration environments with high dynamic range — ensure all personnel are clear of the test area before enabling drive output.
• Inspect all mechanical fixturing, accelerometer mounts, and cables. Loose components or improper connections can lead to unsafe conditions or invalid replication results.
• Verify that the shaker and amplifier are rated for the maximum expected acceleration, velocity, and displacement levels in the playback waveform.
• Check transducer polarity, grounding, and TEDS identification for all channels before running the test.
• Ensure Abort, Stop, and Emergency Power Off (EPO) switches are easily accessible and tested prior to starting.
• Panther’s safety system continuously monitors more than a dozen critical parameters up to 25 times per second, automatically aborting if unsafe conditions occur, protecting equipment and personnel.
2. System Setup
1. Power on the Panther hardware and amplifier, leaving the amplifier in standby until system checks are complete.
2. Launch the Panther Replication control application on the host computer.
3. If not already connected to the hardware, navigate via the Setup→ Set Input Type menu in the Panther software to establish hardware connection.
4. Verify that all required input channels are active, calibrated, and functioning. Panther uses internal NIST-referenced digital calibration to ensure accuracy.
5. Select the output channel driving the shaker amplifier input and confirm polarity.
6. Use the Library to open an existing Replication setup or create a new one. The Library feature allows alias-based quick access to prior waveforms and setups.
3. Defining the Field Data Replication Test
1. In the Control tab, select the Replication test type.
2. Import the target time history or reference waveform (e.g., .stx, .sdd, or ASCII file) representing the field data to be replicated.
3. Assign the control accelerometer and any monitoring channels. Verify sensitivities and engineering units for each input channel.
4. Specify drive limits and safety thresholds for acceleration, velocity, and displacement. Panther’s safety logic automatically verifies these before playback.
5. Select appropriate filtering options or bandwidth limitations to match your shaker system and fixture characteristics.
6. Enable Adaptive Control to refine drive accuracy in real time, ensuring the achieved response precisely matches the target waveform.
7. If desired, enable Multi-Stream Acquisition to record selected channels at different sample rates for efficient data capture.
8. Save the configuration and verify setup parameters in GTX before proceeding to live testing.
4. Running the Test
1. Set the amplifier to ‘Operate’ mode after verifying all pre-test safety checks.
2. Press Start in the GTX toolbar to begin playback. Panther will perform a pre-test verification to ensure all limits and signal paths are valid.
3. The drive signal will ramp smoothly to operational levels, replicating the imported field data waveform in real time.
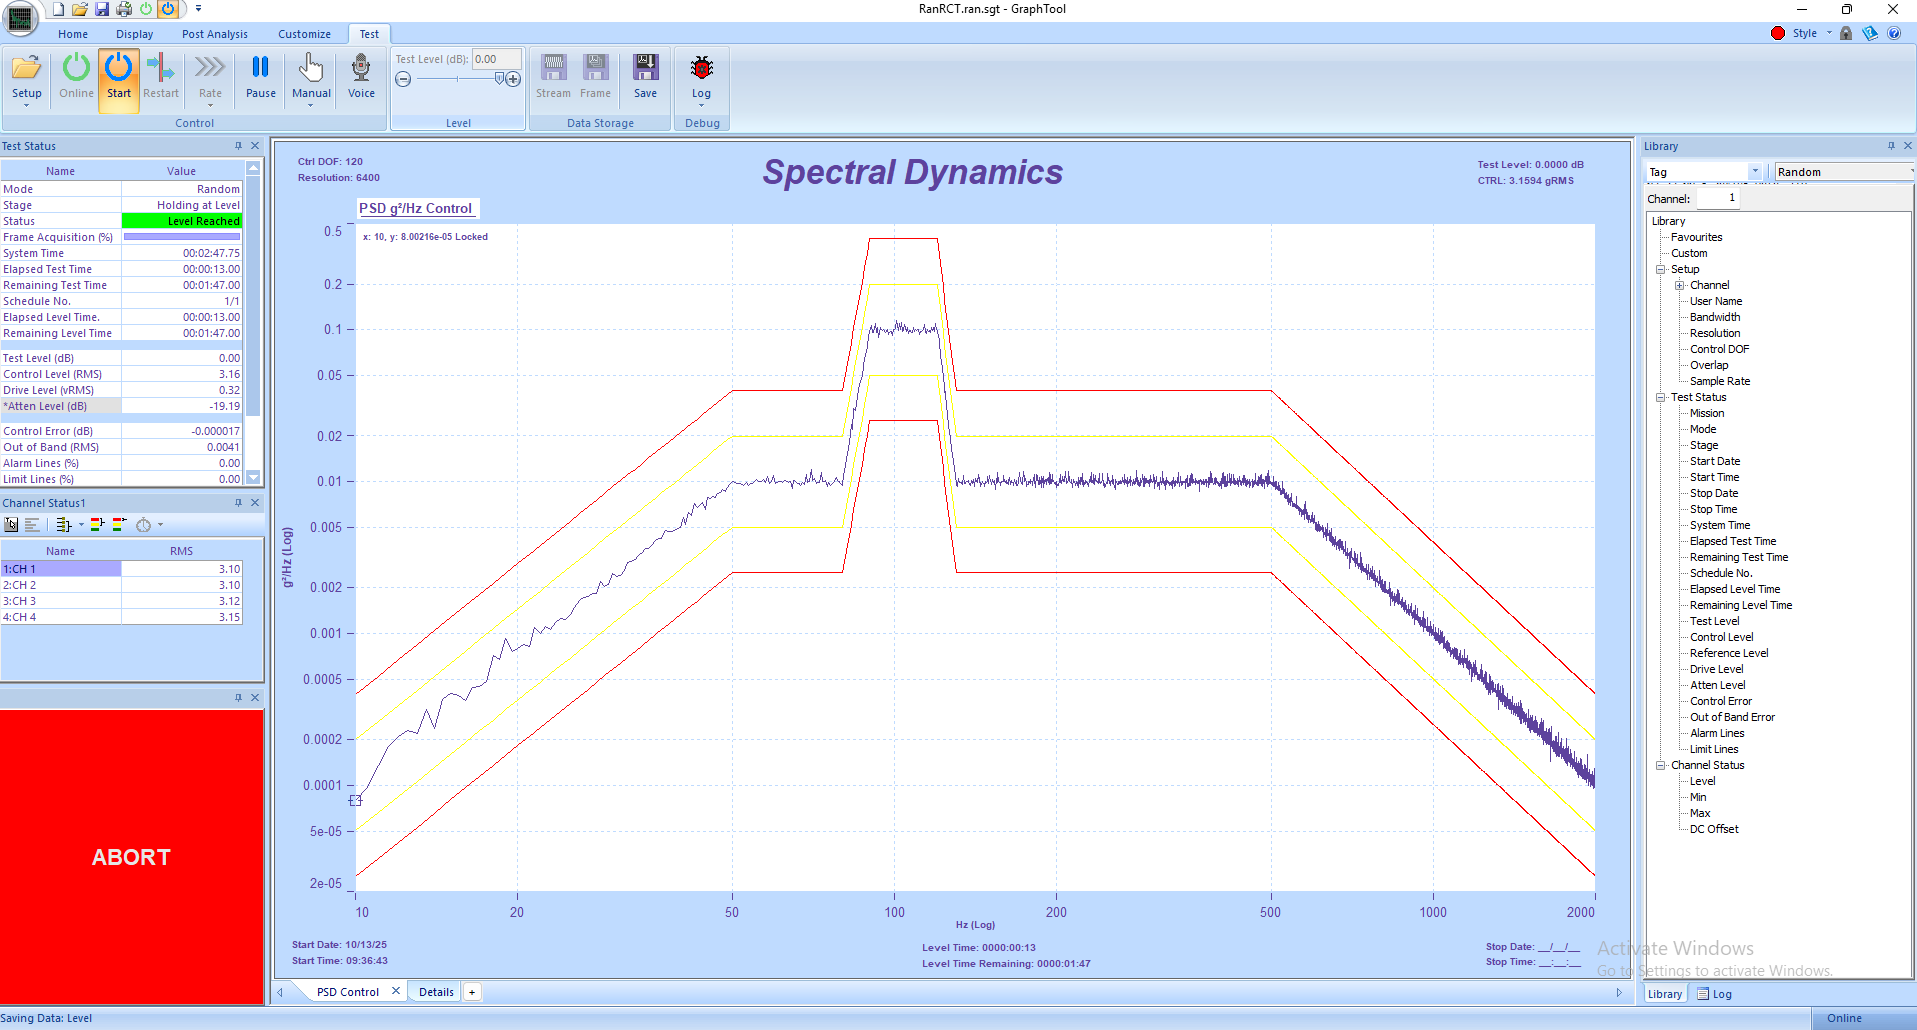
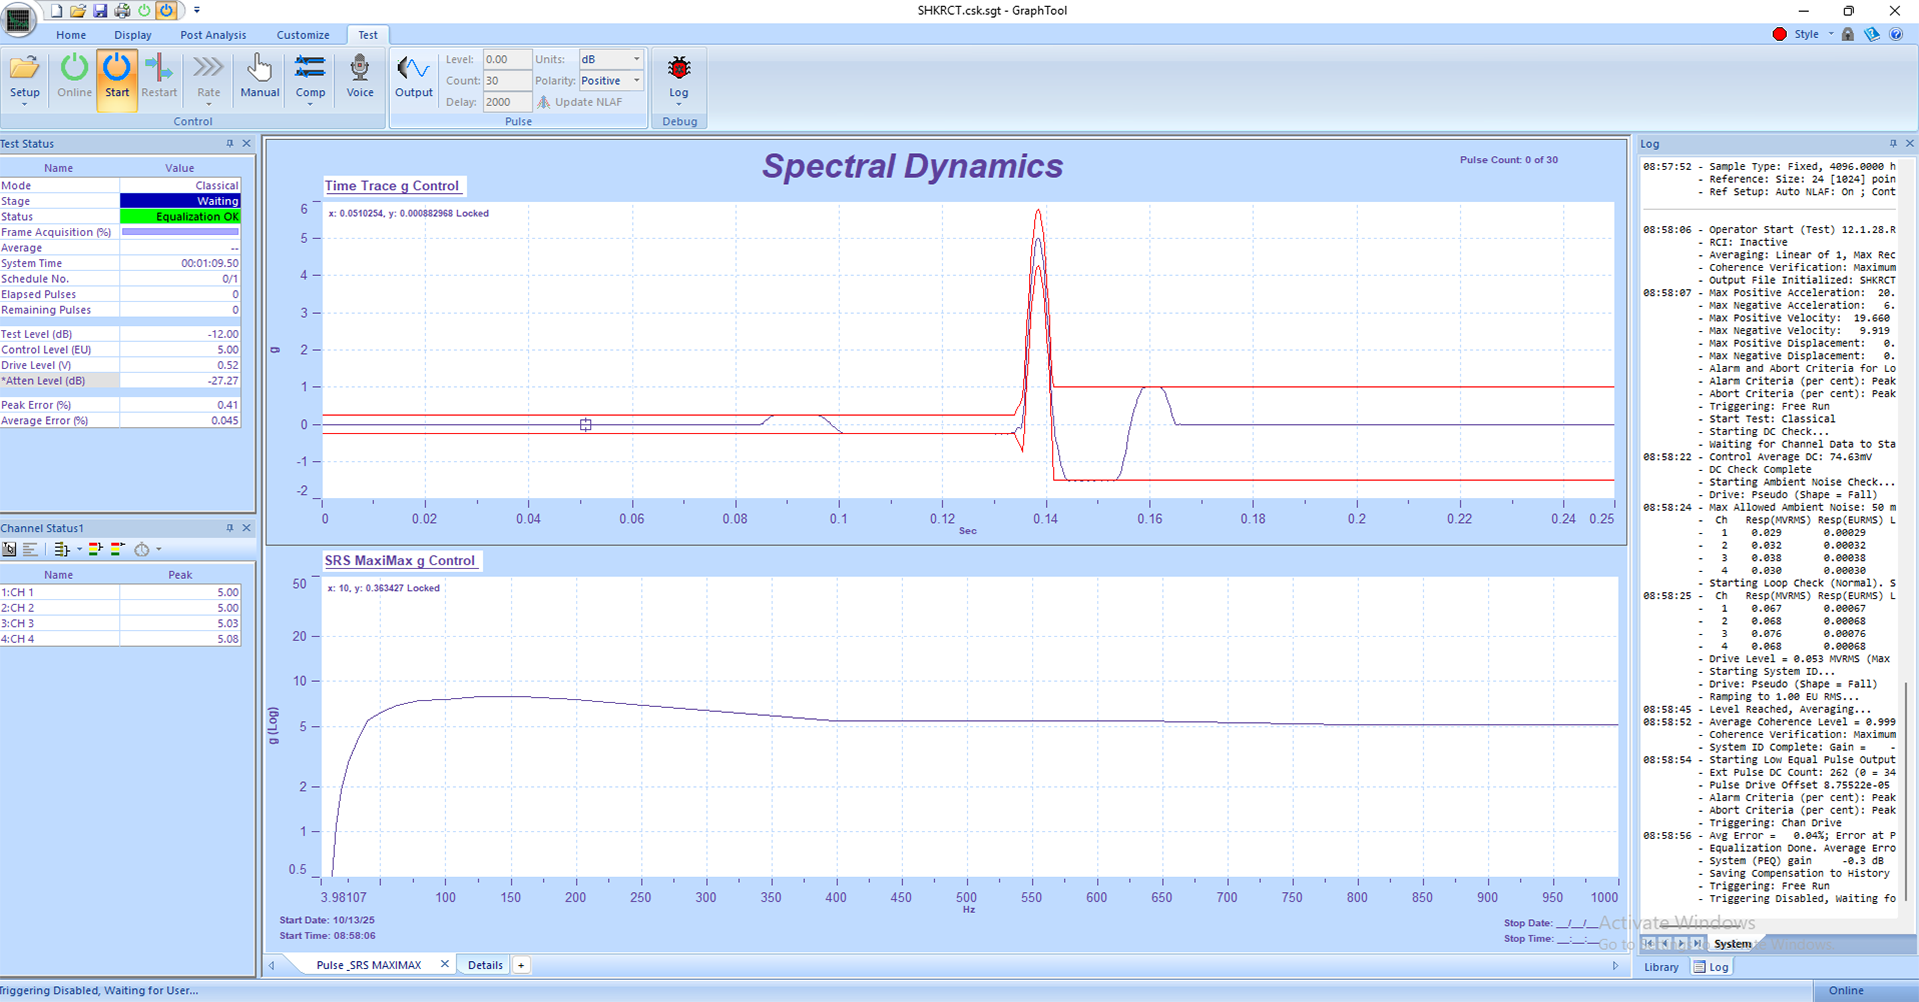
4. Monitor time-domain plots of drive and response signals in GTX. Use the Status Panels to watch RMS levels, peak accelerations, and abort conditions.
5. Panther’s adaptive time-domain control continuously adjusts the drive signal to ensure the achieved waveform matches the target within tight tolerances.
6. If any limit or safety parameter is exceeded, Panther automatically aborts the test to protect the equipment. The operator can also use the Abort button at any time.
5. Data Review and Reporting
• Upon completion, Panther automatically saves the drive, control, and response data in the Library for future analysis.
• Use GraphtoolX (GTX) to review results — overlay achieved vs. target waveforms, compare control spectra, or analyze time-domain performance.
• Export plots and data directly to Word, Excel, or PDF using GTX’s Share function for reporting and documentation.
• Use Composite or Waterfall plots to visualize frequency content changes and evaluate replication accuracy.
6. Panther Advantages in Field Data Replication Testing
• Safety-First Design: Real-time monitoring of 12+ safety parameters 25 times per second ensures protection for equipment and personnel.
• High Sampling Rate: 262 kHz simultaneous sampling on all channels captures fine waveform detail without aliasing.
• Adaptive Time-Domain Control: Proprietary algorithms continuously adjust drive signals to maintain a precise match between target and achieved waveforms.
• Ease of Use: Intuitive GTX interface and touch-screen compatibility simplify configuration and operation.
• High Precision: 24-bit ADCs, >110 dB dynamic range, and <1° phase match up to 100 kHz guarantee accurate data reproduction.
• Real-Time Streaming: Continuous, gap-free data streaming allows direct playback and storage of long-duration waveforms.
• Multiple Acquisition Streams: Capture channels at varying sample rates for optimized bandwidth and storage efficiency.
7. Best Practices
• Perform a low-level trial replication to verify setup integrity before running at full amplitude.
• Ensure control accelerometer placement accurately represents the desired control location on the test article.
• Use Panther’s pre-test verification and abort limit configuration to protect against overdrive conditions.
• Review achieved vs. target waveforms in GTX after each run to confirm correlation accuracy.
• Regularly back up calibration constants, waveform files, and Library data to ensure long-term repeatability and traceability.


