How to Create a Customized Report
Report Generation allows the user to output a report in a single Microsoft Word document, Adobe PDF or a collection of images in a folder at the end of a test. The following article will guide you through this process.
The Report Generation Dialog
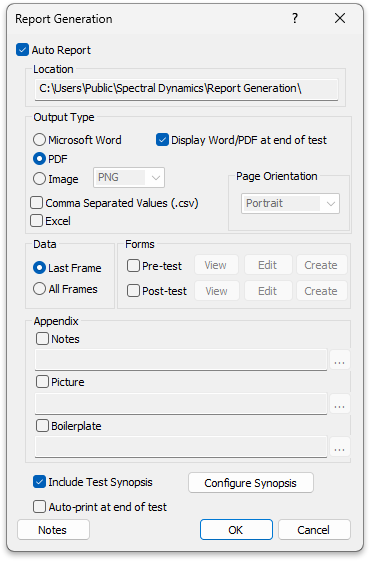 Navigate to the Report Generation Dialog, which can be accessed from the main application window under Setup > Report Generation. Output type can be Word, PDF or a collection of images. For a single document report, it is recommended to output to Microsoft Word, giving the flexibility of having the most features and ability to edit.
Display Word/PDF at end of test: This will automatically launch Word or system's default PDF viewer after the report has been generated and saved to disk.
Pre and Post Test Forms
A pre-test form is a required page given to the operator before the start of the test. A post-test form is given at the end of test. Both require operators to make a record of test parameters given to them.
| How to Create a Simple Pre-test form |
Start by clicking on the [Create] button next to the Pre-test view checkbox. If there is already a pre-test form associated with this test, it will open that one first for edit. For the purpose of this demonstration we will be creating a new form by clicking on the [New Form] button.
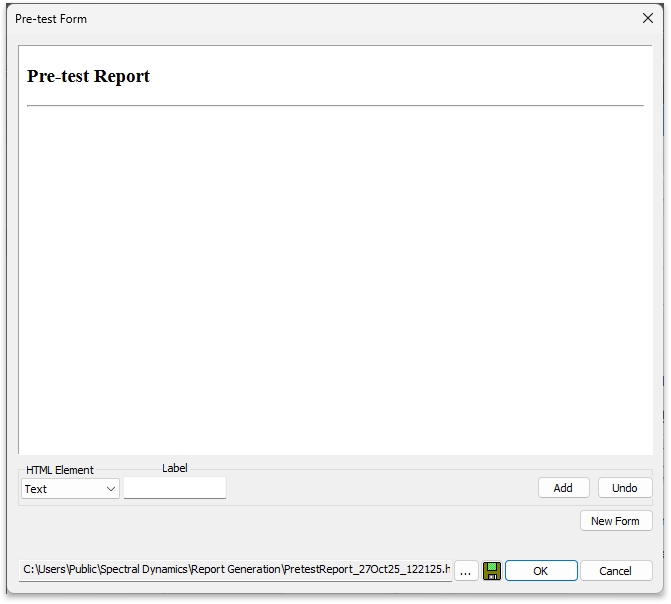
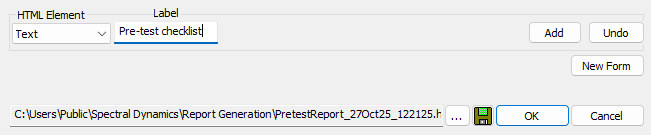
Let's add some header text using the HTML Element "Text" and give it a description in the label field. Click [Add]. Note that each HTML Element will be added from the top of the document, each additional HTML Element added will be 1 row below the previous one.
|
Creating checkbox is similar to header text, except it allows the user to check this field on and off. |
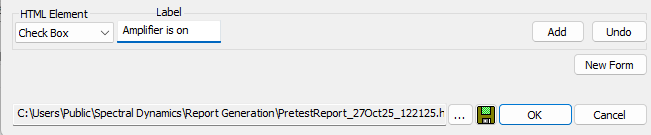
|
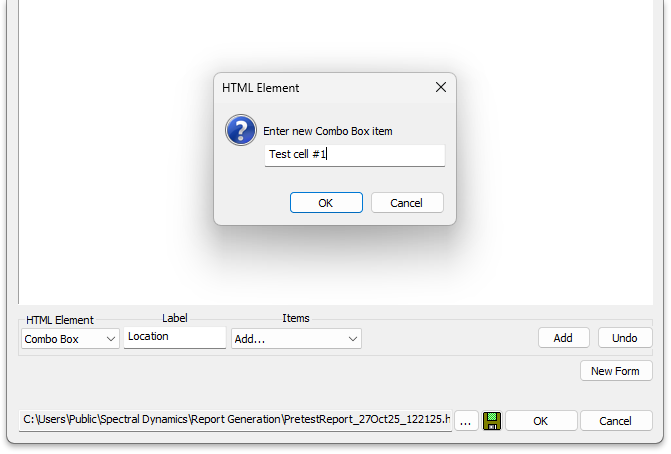
Combo Boxes allow the user to select between 2 or more options. Start by selecting Combo Box, giving it a label then selecting "Add..." from the Items drop down. Add at least 2 items and click [Add] button when finished. |
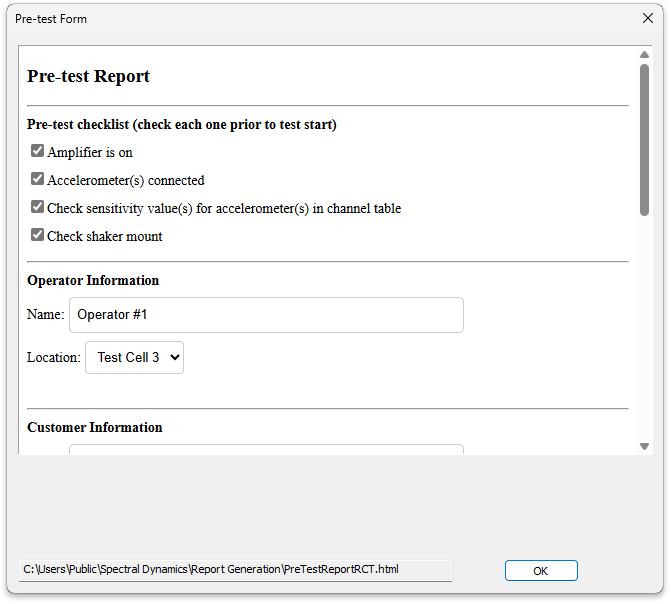
When finished adding HTML Elements, click [OK] to use the existing pre-generated file name or the save icon to give it a different name or location. As long as the Pre-test check box is enabled in the Report Generation dialog, this newly created form will appear with the operator starts the test. The test will not continue until the operator clicks [OK] on the form dialog. Below is an example form created using only HTML Elements provided in the [Create] dialog functionality.
| How to Edit a Form |
Clicking on the [Edit] button in the main Report Generation dialog, will allow you to view the HTML source and make edits there if needed.
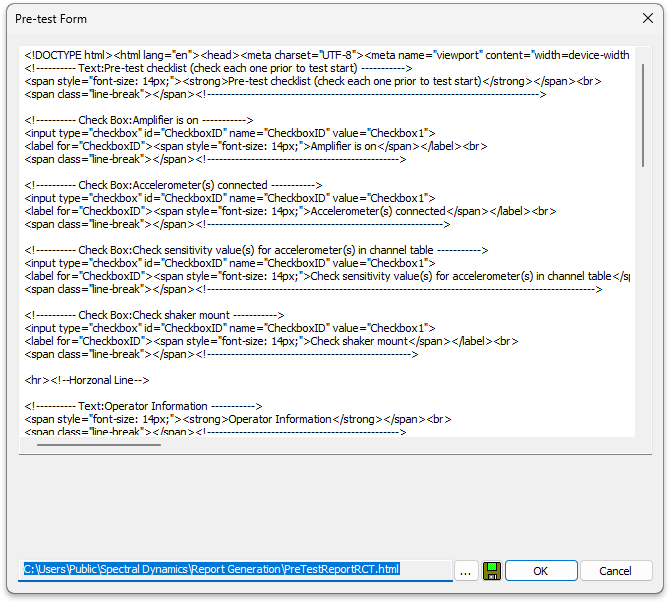
When adding HTML Elements using the [Create] dialog, each element will be contained in comments blocks indicating the start and end of that particular element.
start: <!--
end: -->
|
Checkbox - □ Amplifier is on |
|
<!---------- Check Box:Amplifier is on -----------> |
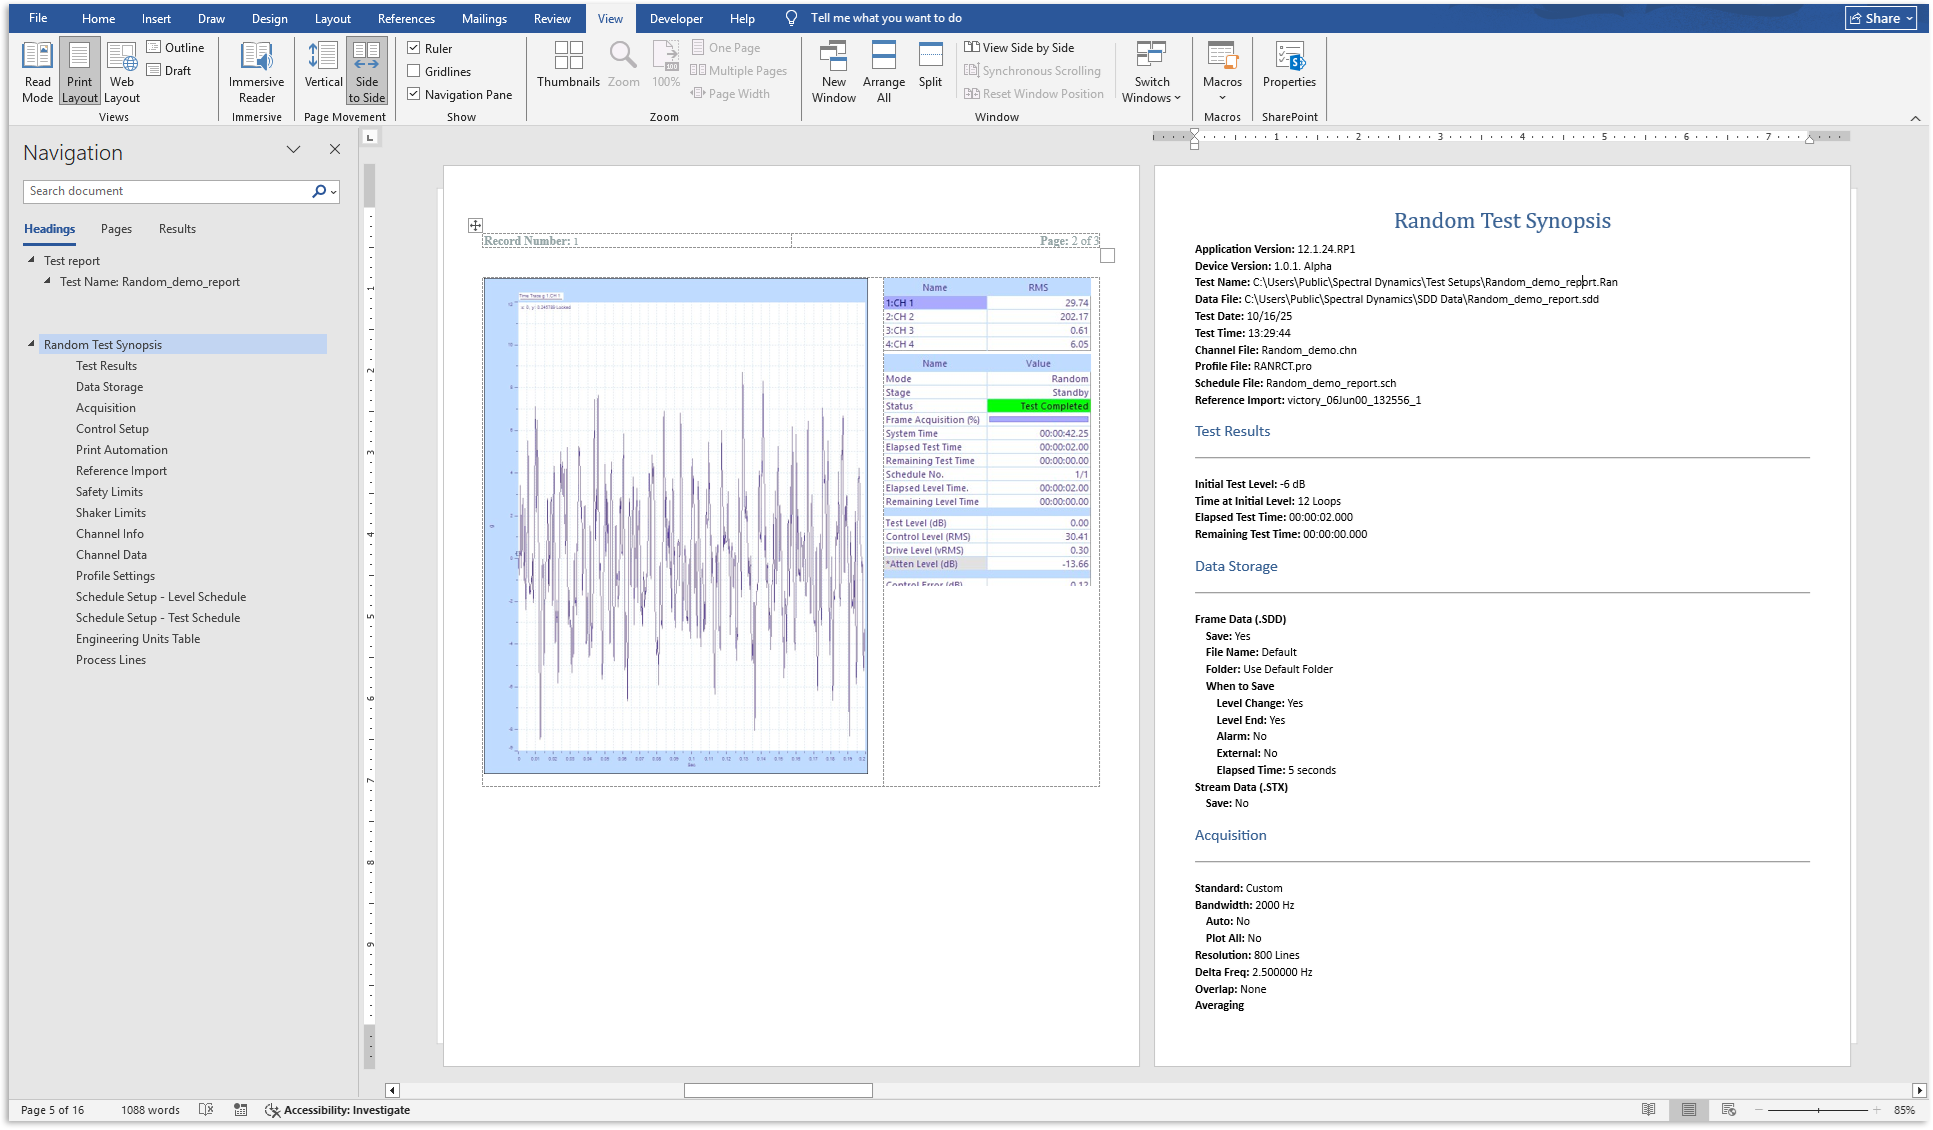
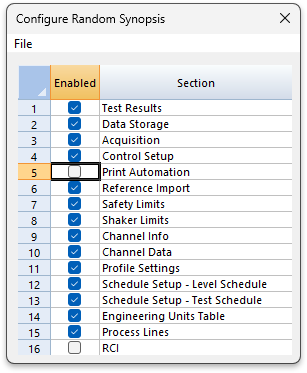
Adding a Test Synopsis
A test synopsis is a customizable collection of test results and setups used in the test. Select "Include Test Synopsis" then [Configure Synopsis] button. Each one of these sections (if checked) will be appended to the end of the report as text-based data.
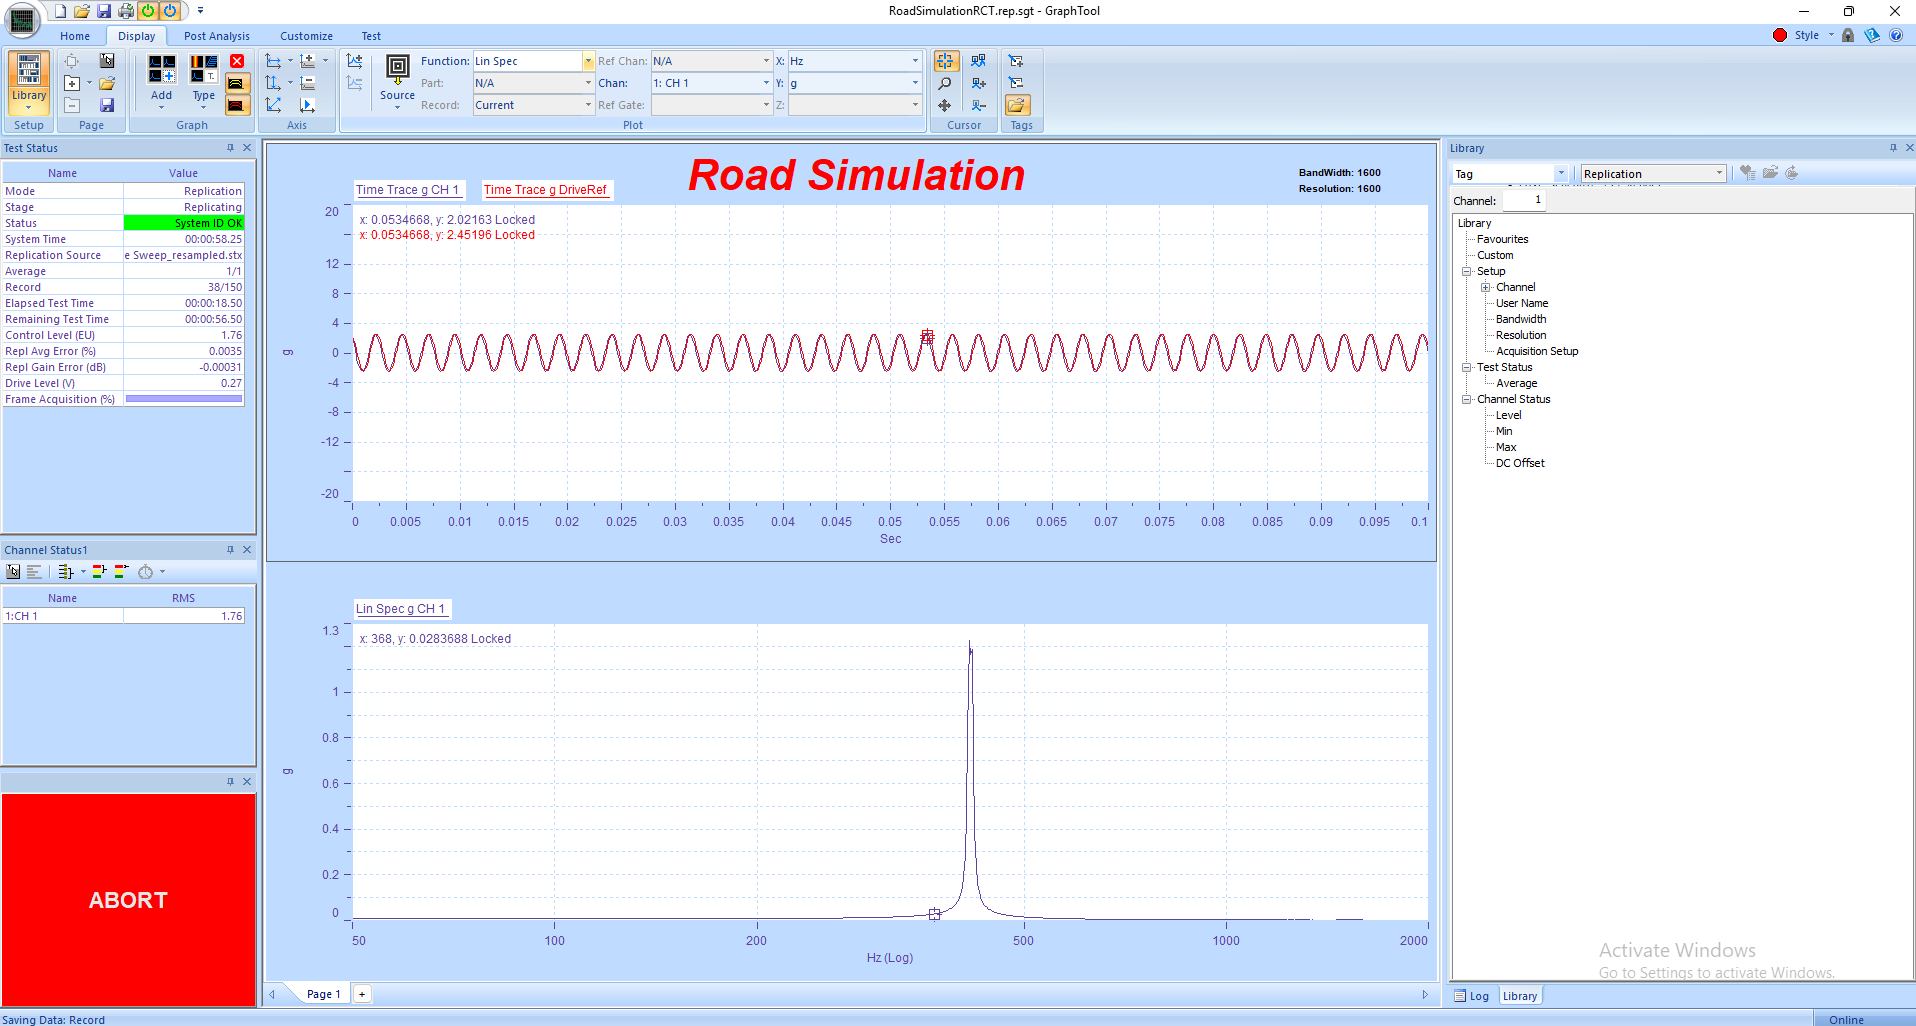
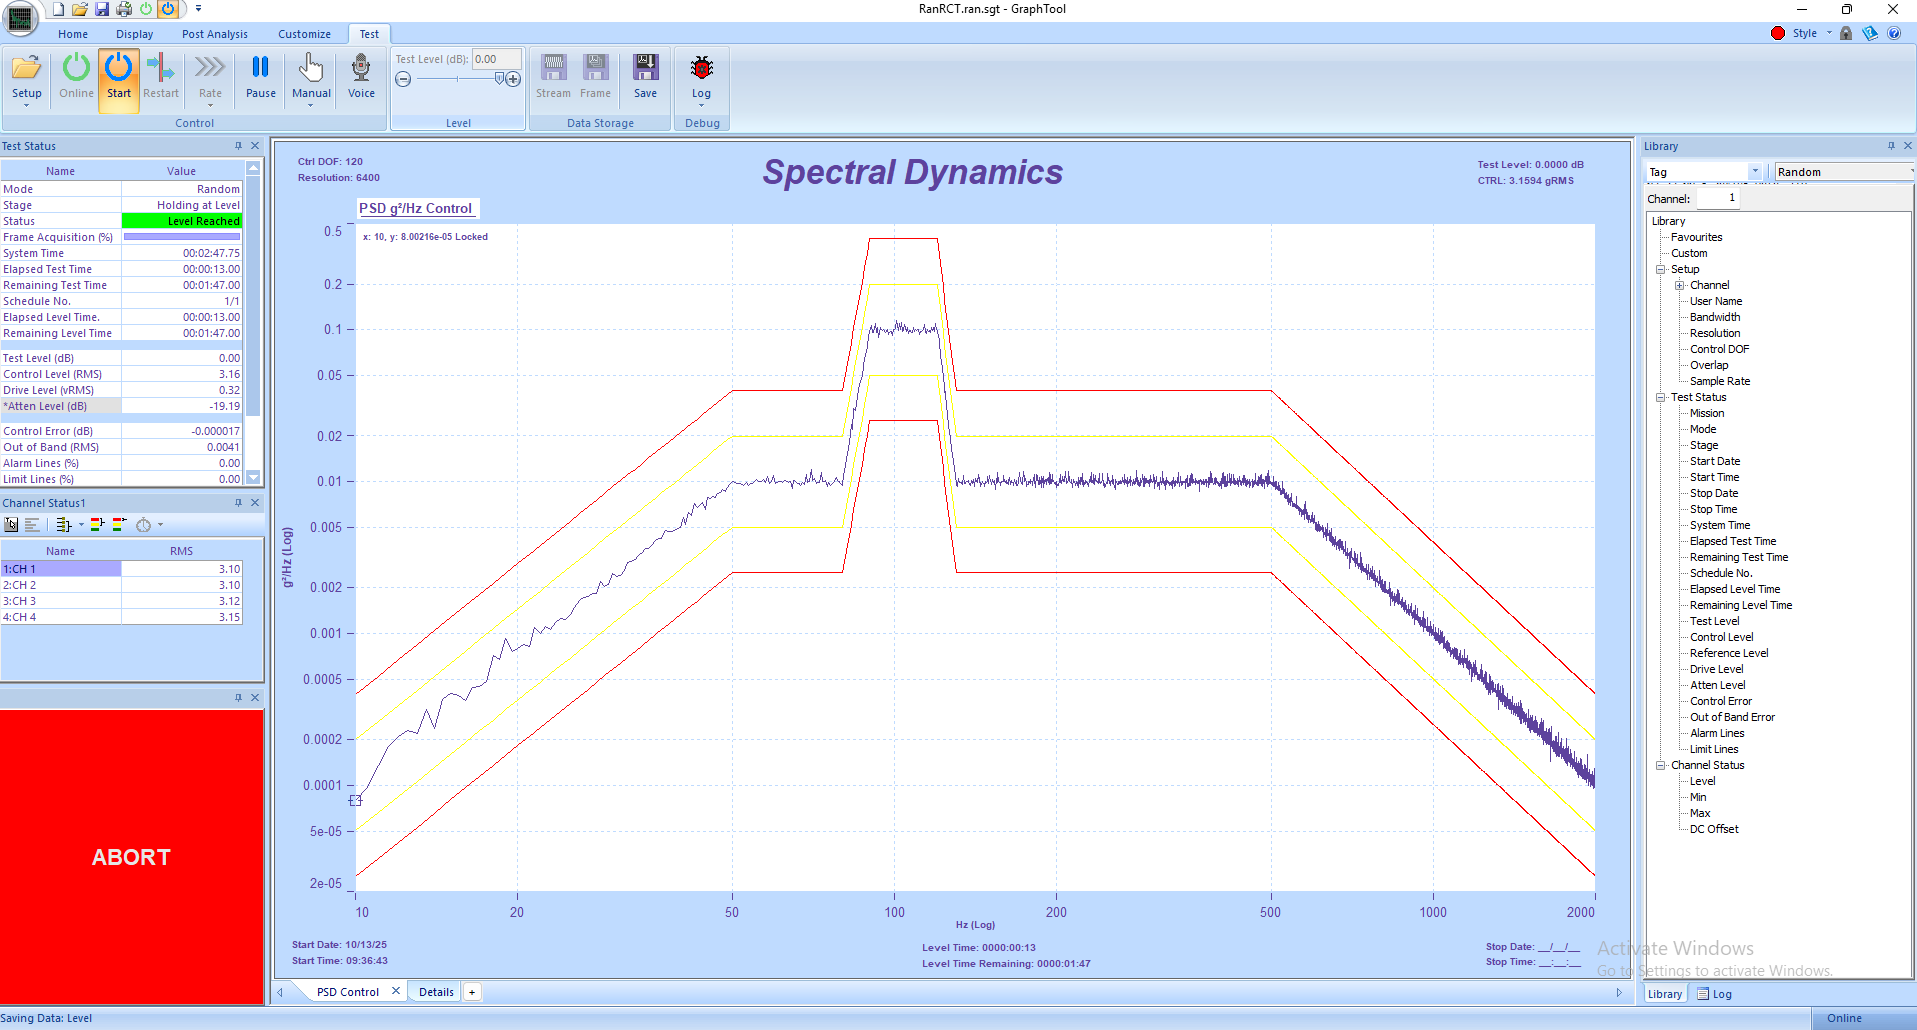
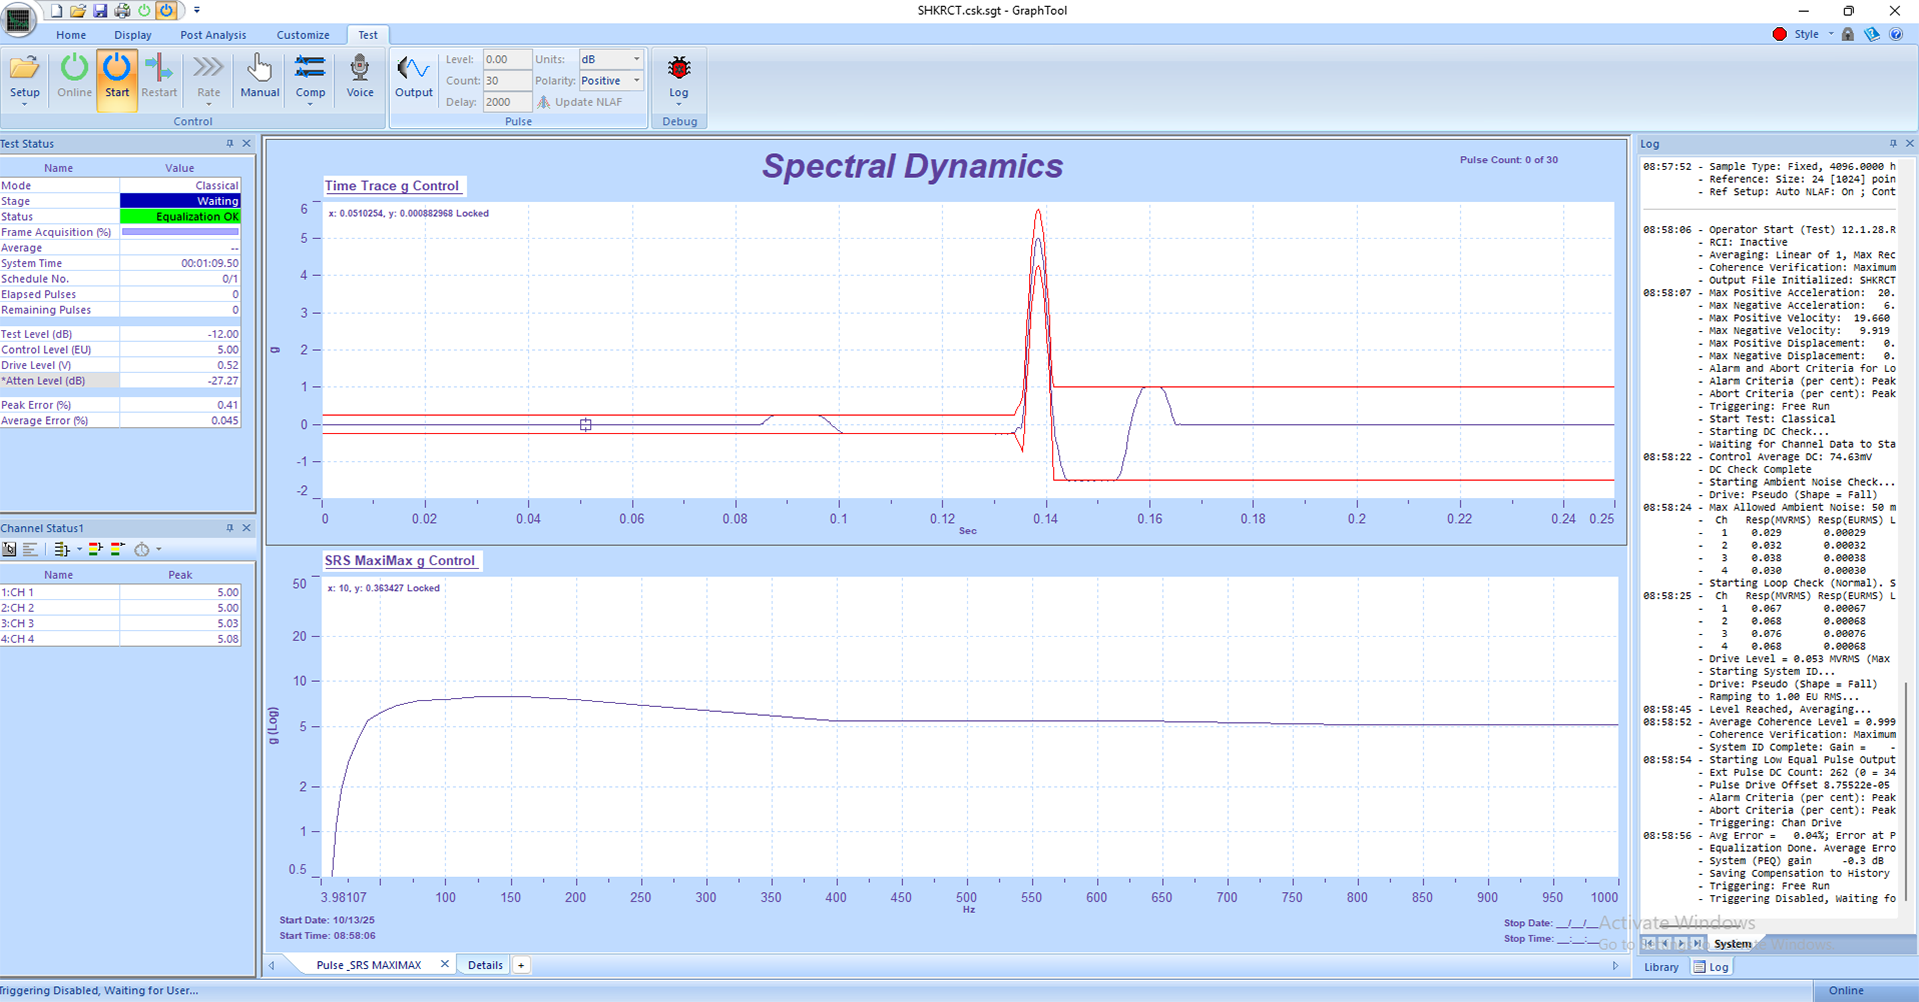
Related Software Tutorials


![]()
![]()
![]()