Swept Sine Vibration Tutorial
How to Run a Basic Swept Sine Test on the Panther Control System
1. Safety First
• Confirm that all cables are properly connected and secured.
• Verify that the shaker system, amplifier, and device under test (DUT) are rated for the planned frequency and amplitude.
• Check accelerometer polarity, grounding, and TEDS identification.
• Ensure that Abort, Stop, and Emergency Power Off buttons are accessible.
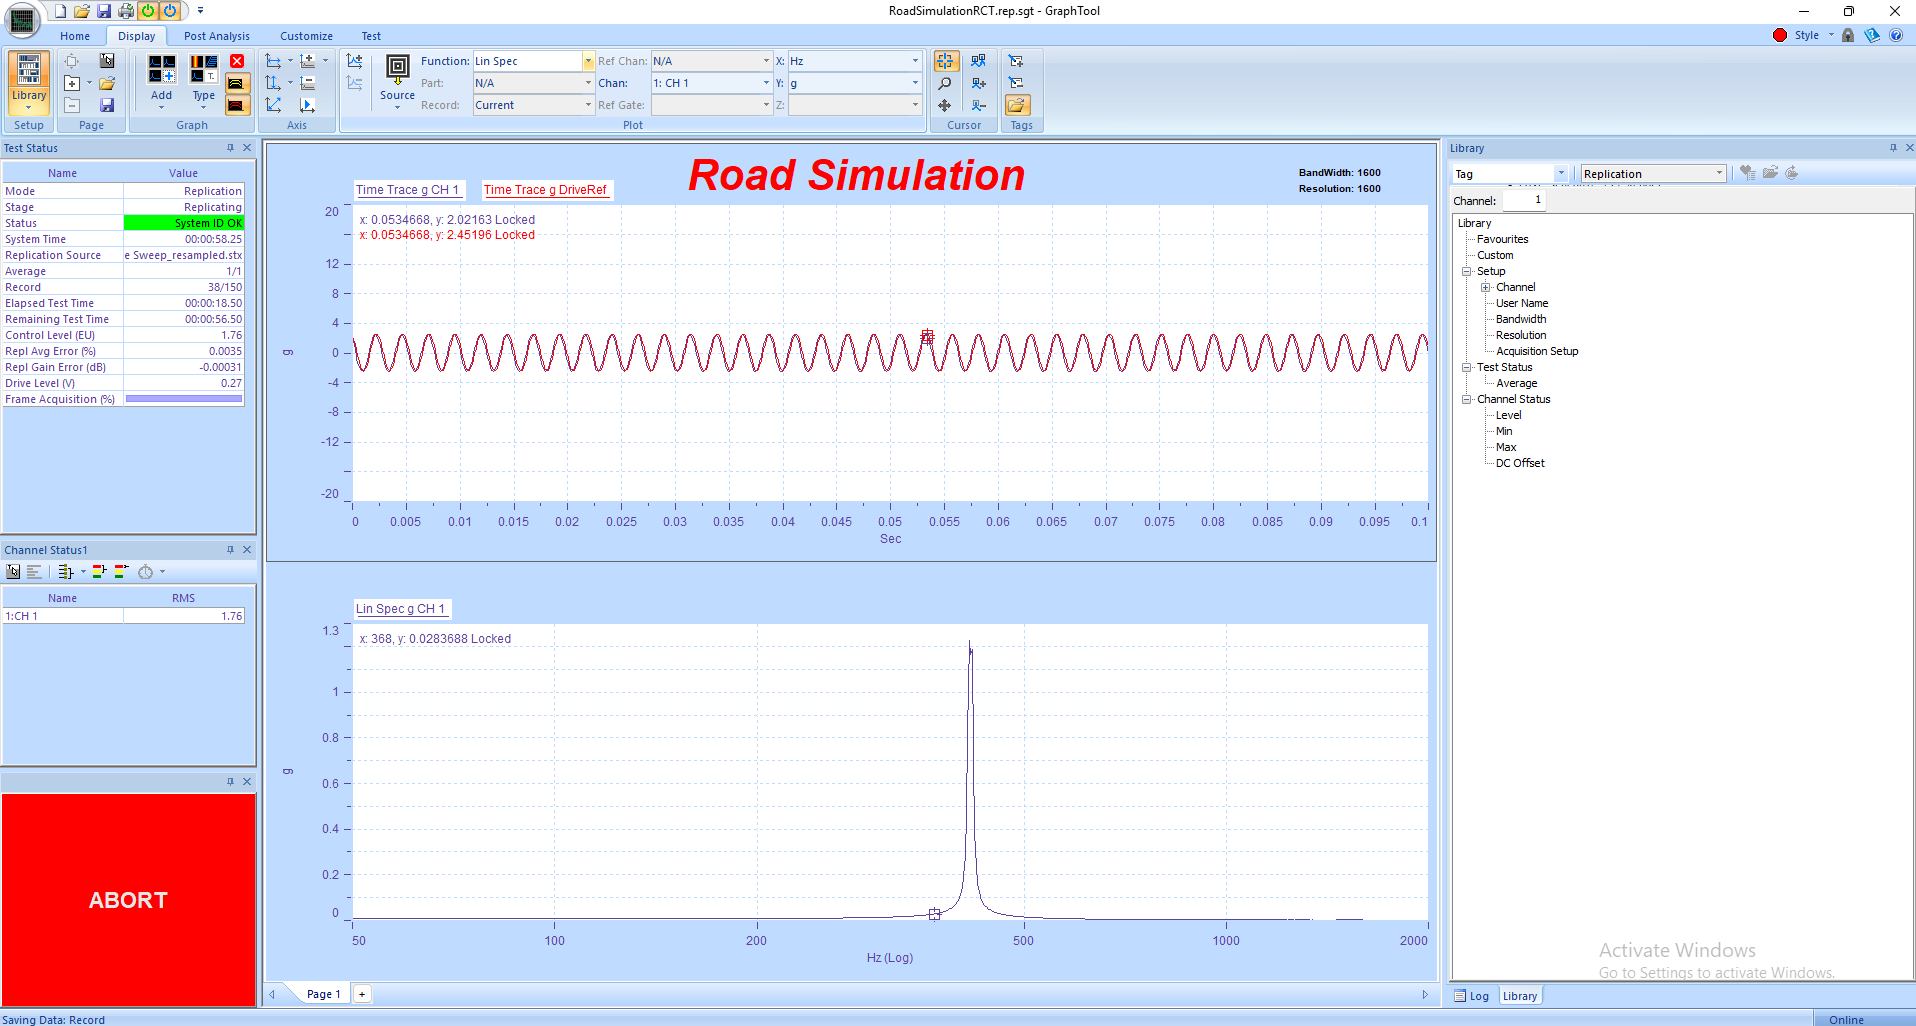
• Panther’s built-in safety monitoring checks more than a dozen critical parameters 25 times per second — protecting both equipment and personnel.
2. System Setup
1. Power on Panther and the shaker amplifier in standby mode.
2. Launch Panther Sine on the host PC.
3. If not already connected to the hardware, navigate via the Setup→ Set Input Type menu in the Panther software to establish hardware connection.
4. Verify correct input channels are active and properly calibrated. Panther uses auto-calibration and NIST-referenced digital calibration constants to ensure precision.
5. Select the proper output channel driving the shaker.
6. Use the Library to open an existing Swept Sine setup or create a new one for this test. Panther’s Library allows easy organization and recall of setups using aliases.
3. Defining the Swept Sine Test
1. In the Control tab, choose Swept Sine.
2. Define start and stop frequencies, sweep rate, and desired control level (e.g., g rms, displacement, or velocity).
3. Assign control and monitor channels.
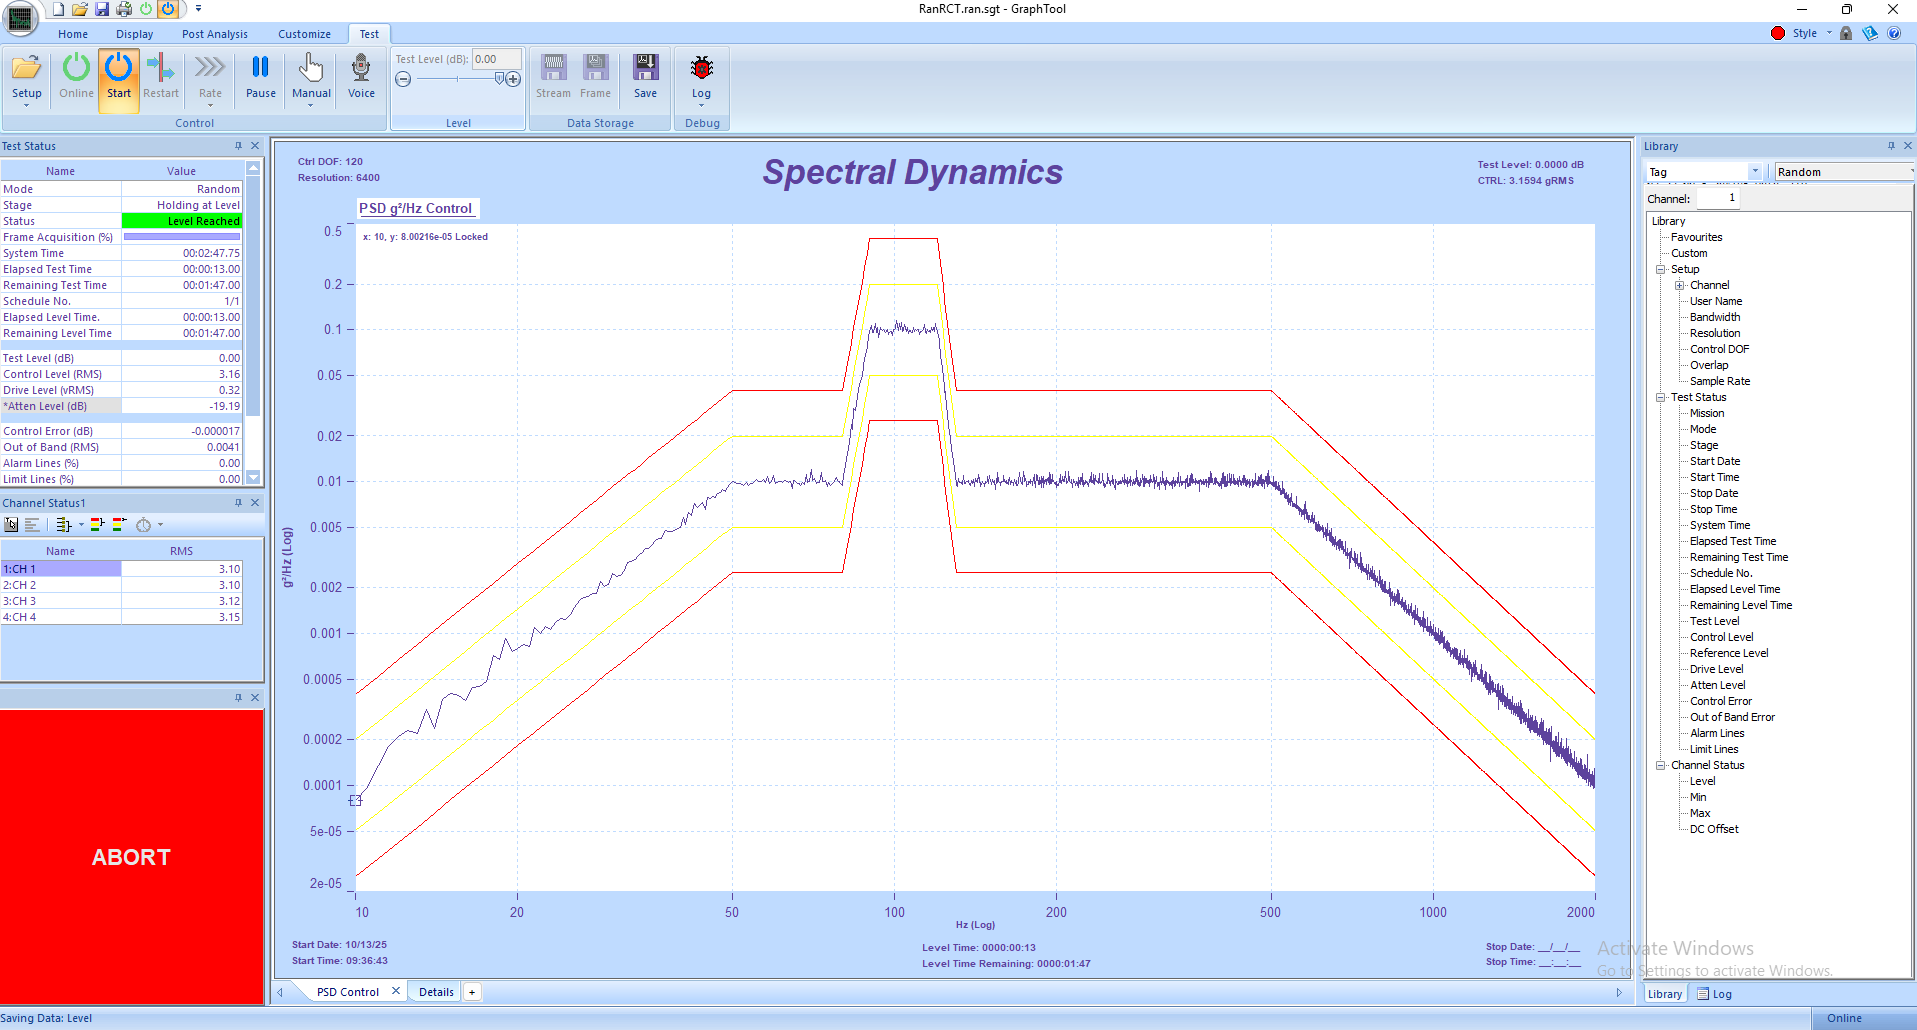
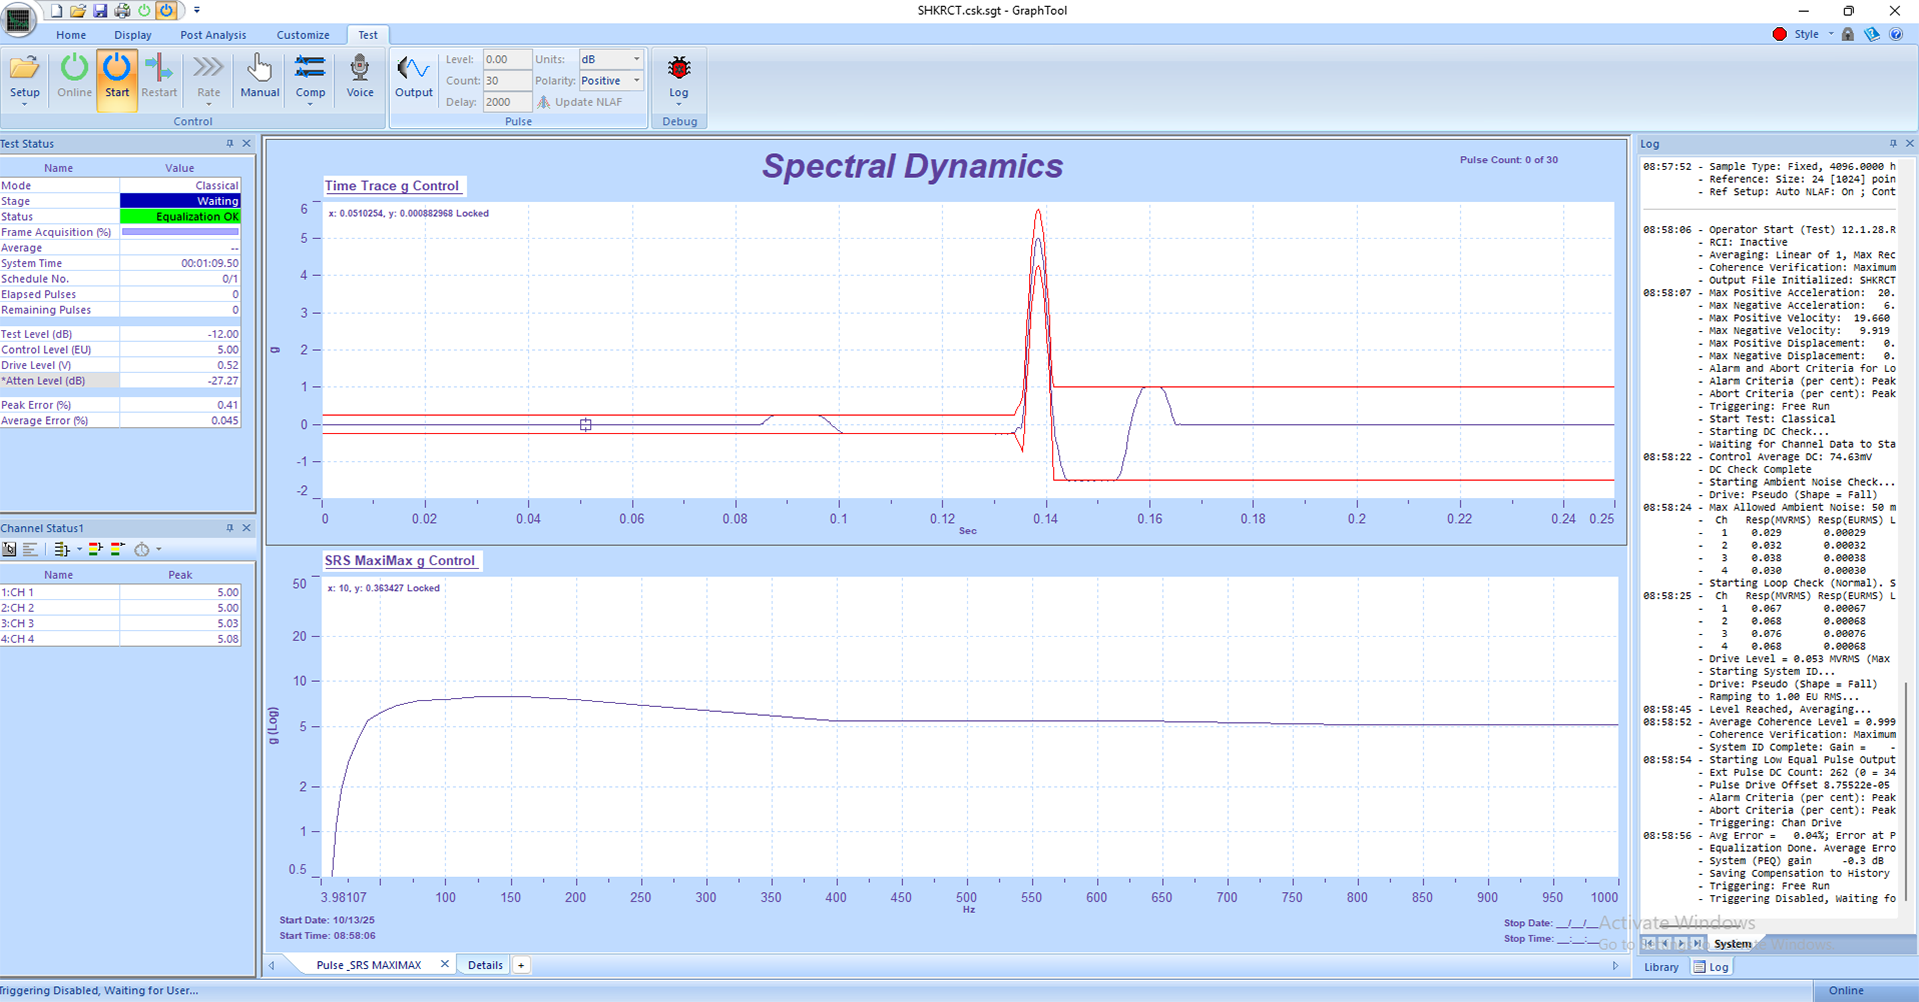
4. Verify safety limits for drive level, maximum acceleration, and abort conditions. Panther automatically performs pre-test loop checks before any drive is applied.
5. Enable tracking filters for accurate transfer function measurements.
6. Use Panther’s Adaptive Digital Equalization for optimal control across resonances.
4. Running the Test
1. Set amplifier to 'Operate' mode.
2. Press Start in the GTX toolbar to begin. The system performs a pre-test self-check and ramps drive smoothly to target level under adaptive control.
3. Monitor real-time control/response plots (Control PSD, Phase, Time History, etc.).
4. Watch the Status panels for warnings, aborts, or channel health.
5. During sweep, Panther continuously adjusts for resonance shifts while maintaining safe and precise control.
6. Use the Abort button in GTX to immediately halt the test if needed.
5. Data Review and Reporting
• After completion, Panther automatically stores all results in the Library.
• Use GraphtoolX (GTX) for analysis — overlay multiple runs, view magnitude/phase/composite plots, or export directly to Word, Excel, or PDF.
• Compare historical runs using GTX’s ability to display live vs. stored data.
• Archive your report — Panther auto-saves the configuration, plots, and numeric results.
6. Panther Advantages in Swept Sine Testing
• Superior Safety: Monitors 12+ safety parameters 25 times per second.
• Ease of Use: Intuitive, touch-friendly interface and logical menus.
• Adaptive Control: Proprietary adaptive equalization for fast, accurate resonance tracking.
• High Precision: 24-bit ADCs, >110 dB dynamic range, <1° phase match up to 100 kHz.
• Data Confidence: Real-time streaming and comparison to previous runs.
• Flexibility: Multi-input streaming and expandable up to 32 synchronized channels.
7. Best Practices
• Always verify sensor health using the built-in Channel Status panel.
• Use pre-defined RCTs for system verification before critical tests.
• Save your GTX layout as a template to maintain consistent reporting format.
• Regularly back up your test setups and library files.
Related Software Tutorials


![]()
![]()
![]()